Bonjour à tous !
Yesterday, I posted about my travel pouch, which used some homemade bias tape. So I thought I'd show you this super fast and easy method to make your own cute and original bias tape. NOTE: I am not the inventor. Just passing it along !
Hier, j'ai publié ma pochette de voyage, qui était faite avec du biais maison. Aujourd'hui, je vais vous montrer la façon super rapide et facile pour couper des lanières de biais aussi joli qu'original. NOTE: Je ne l'ai pas inventée. Je la transmets tout simplement !
I will not go into other methods which include calculations and headaches (for me anyway). My friend Johanne showed it to me and I can't make enough !
Je ne parlerai pas des autres méthodes qui incluent des calculs et des maux de tête (pour moi en tous cas). Depuis que ma copine Johanne me l'a montrée, je ne peux plus arrêter d'en faire !
So here goes:
Alors on y va:
1- Fold the fabric, right-side-to-right-side, and sew all around with smallish stitch length and a small seam allowance
2- Place fabric, fold on the left1- Plier le tissu, endroit contre endroit, et coudre tout autour avec un point court et une petite allocation de couture
2- Placer le tissu, pli à gauche
 |
| 1 and 2 |
3- Trace a diagonal line from corner to corner
3- Tracer une ligne diagonale, d'un coin à l'autre
 |
| 3 |
4- Turn piece over (fold to right) and do the same (the diagonals must be in X shape)
4- Retourner le morceau (en plaçant le pli à droite) et répéter (les diagonales doivent être en forme de X)
 |
| 4 |
5- Cut small openings at each corners, to insert scissors
5- Couper les coins pour faire des petites ouvertures pour insérer les ciseaux
 |
| 5 |
6- Inserting scissors in opening, cut along line, ONE THICKNESS only
7- Do the same on other side
6- Insérer les ciseaux dans le première ouverture et couper sur la ligne, UNE SEULE ÉPAISSEUR
7- Répéter sur l'autre côté
 |
| 6 and 7 |
8- Open fabric cylinder
8- Ouvrir le cylindre de tissu
 |
| 8 |
 |
| 8 |
9- Press open seams
9- Repasser les coutures
 |
| 9 |
10- The cutting of the corners make notches you do not want so you have to even out the edges
10- Le fait de couper les coins crée des entailles qu'on ne veut pas donc on doit égaliser les bords
 |
| 10 |
11- Placing the cylinder on the table (anyway is OK), trace a vertical line 6 inches from the left side
11- En plaçant le cylindre sur le table (le sens ne dérange pas), tracer une ligne verticale à 6 pouces du bord gauche
 |
| 11 |
12- Trace horizontal lines from the vertical line, towards the right side, at the width you need for your bias strips
12- Tracer des lignes horizontales à partir de la ligne verticale jusqu'au bord droit, en gardant la largeur nécessaire pour le biais
 |
| 12 |
13- Cut BOTH THICKNESSES along lines, not going over the vertical line
13- Couper LES DEUX ÉPAISSEURS sur les lignes jusqu'à la ligne verticale
 |
| 13 |
14- Opening the piece to the uncut part, trace diagonal lines that join the first line of one side to the second line on the other side (creates a continuous strip)
14- Ouvrir le cylindre sur la partie non-coupée et tracer des diagonales qui joignent la première ligne horizontale d'un côté et la deuxième ligne horizontale de l'autre côté (cela crée une bande continue)
 |
| 14 |
15- Cut along lines (one thickness only)
15- Couper selon les lignes (une seule épaisseur)
 |
| 15 |
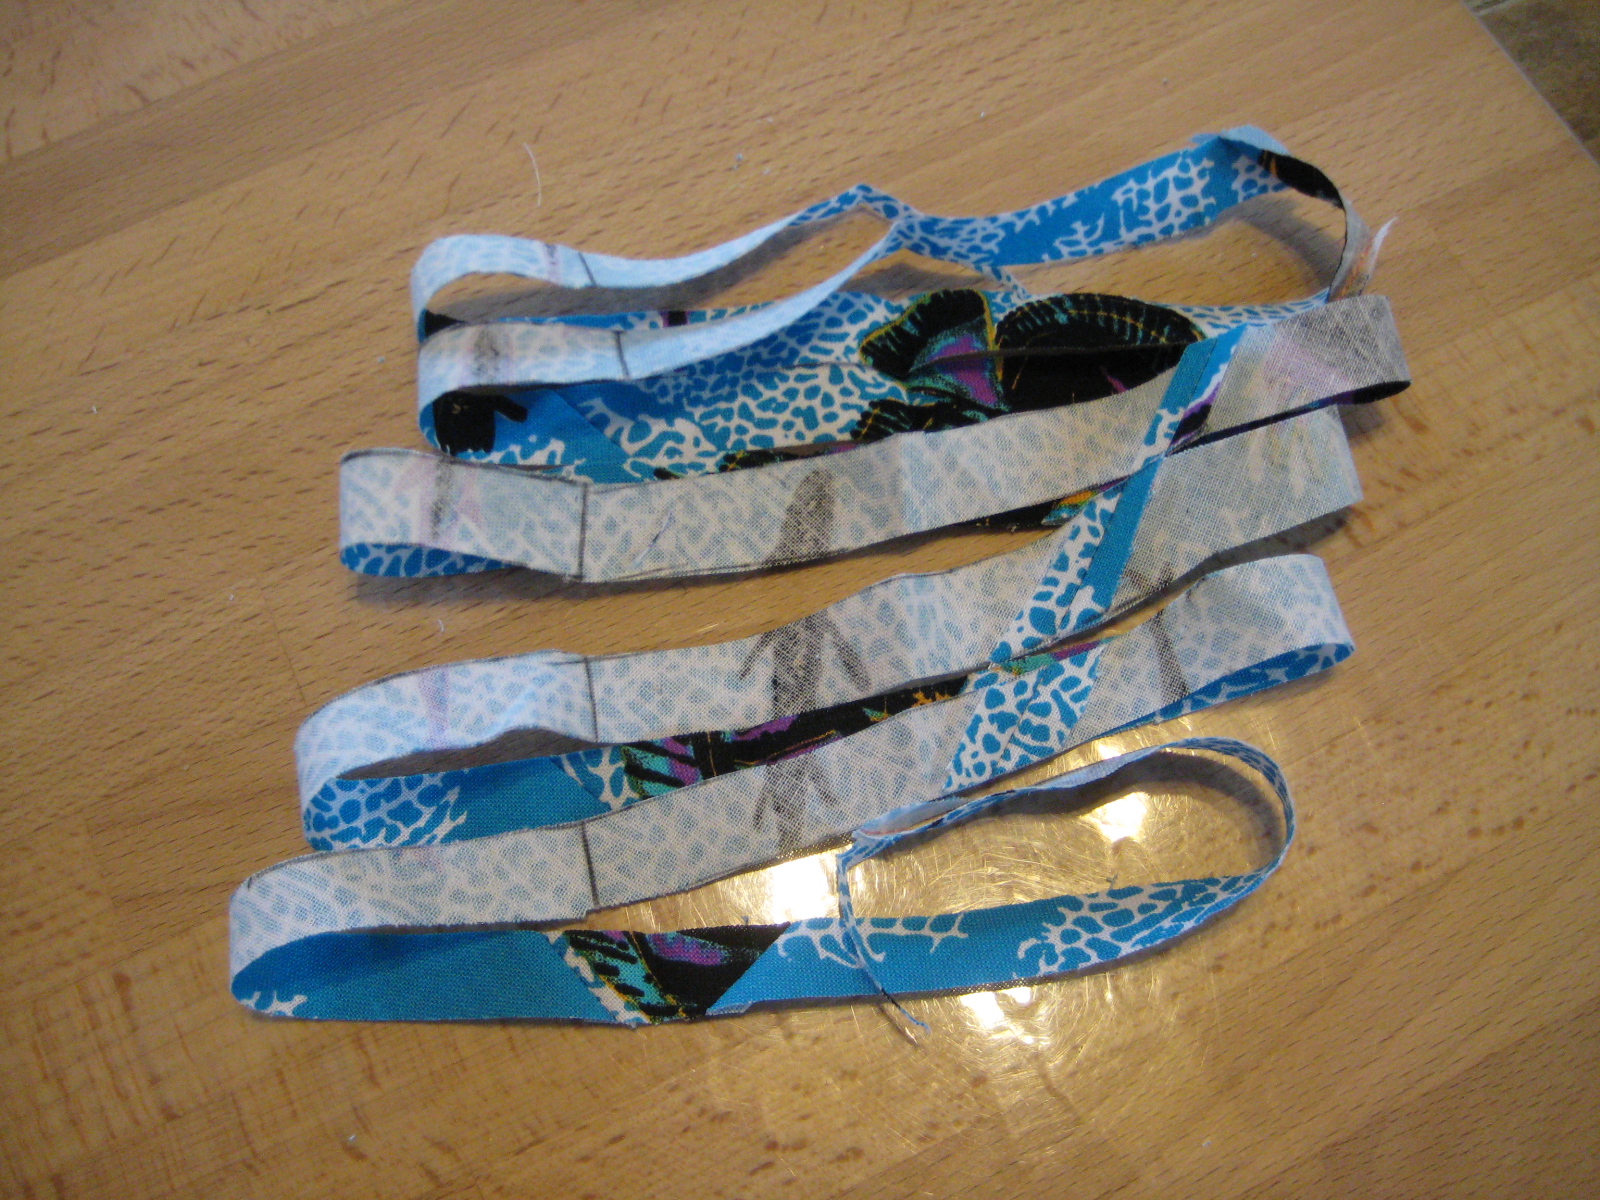
16- Here is your LONG bias strip !
16- Voilà votre LONGUE bande !
 |
| 16 |
17- You can now use a manual bias tip or this WONDERFUL machine !
17- Vous pouvez maintenant utiliser la méthode manuelle ou cette merveilleuse machine !

A sneak peek into the contraption:
Une vue à l'intérieur de la machine:

Center top: (EN HAUT, AU CENTRE)
- Iron plate cover (couvert de plaque)
Left side: (À GAUCHE)
- Spindle (fabric rolled onto it) (rouleau, sur lequel on enroule le tissu)
- Guide bar for the fabric (barre guide pour le tissu)
Right side: (À DROITE)
- Bias tips (3/4 in and 1 in) (bouts: 3/4 po et 1 po)
- Red on-off button (bouton rouge de mise sous tension: ON-OFF)
- Farbic type dial (sélecteur de tissu)
- Run button (bouton de fonctionnement du rouleau moteur)
- Iron plate (plaque à repasser)
- Roller (rouleau moteur)
To use it, thread the fabric through the bias tip and make contact with roller, put the cover on the iron plate and run :)
Pour l'utiliser, passer le tissu dans le bout jusqu'à ce qu'il touche le rouleau moteur, puis replacer le couvert de plaque et le faire fonctionner.
J'espère que ça aide ! Ayez du plaisir avec votre biais !
Peace !
Claudia
Wow - that's an interesting way to make the bias tape. I will have to give it a try sometime - thanks!
ReplyDeleteHi Barb, let me know how it turns out. I LOVE it and it is so fast and easy. Thanks for stopping by :)
ReplyDeleteI'm definitely giving this a go next time I need to make bias binding!!! Hope you don't mind, but I'm pinning this.
ReplyDeletePin away my dear ! I have not gotten into that game but I encourage it wholeheartedly :) Thanks for stopping by and commenting !
DeleteHi Claudia, I've featured your bias tape tutorial today...
Deletehttp://threadingmyway.blogspot.com/2012/12/threading-your-way-features.html
Wow Pam ! Twice ! Thanks so much !
Delete